
Sign in & install the add-on
Getting started takes two steps: sign in to the FormSlug dashboard, then install the FormSlug add-on for Google Forms. You only need to do this once.
1. Sign in to the dashboard
Section titled “1. Sign in to the dashboard”- Go to app.formslug.com (or your team’s FormSlug URL).
- Click Sign in with Google.
- Choose your Google Workspace account.
- Grant FormSlug the permissions it requests.
- Open the add-on.
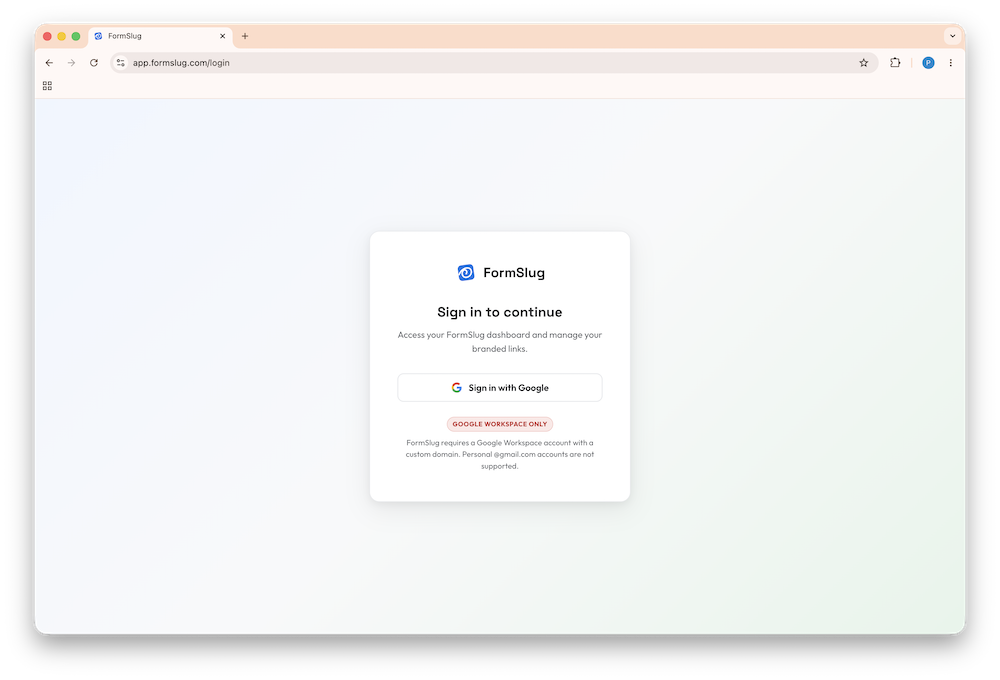
The first person from your domain to sign in automatically creates the workspace for that domain. Everyone who signs in afterward joins that same workspace — see About workspaces.
2. Install the FormSlug add-on for Google Forms
Section titled “2. Install the FormSlug add-on for Google Forms”Slugs are created from inside the Google Forms editor, not from the dashboard. To do that, you need the FormSlug add-on installed for your Google Workspace account.
When you sign in to the dashboard for the first time, FormSlug checks whether the add-on is installed and opened once. If it isn’t, you’ll see an install prompt:
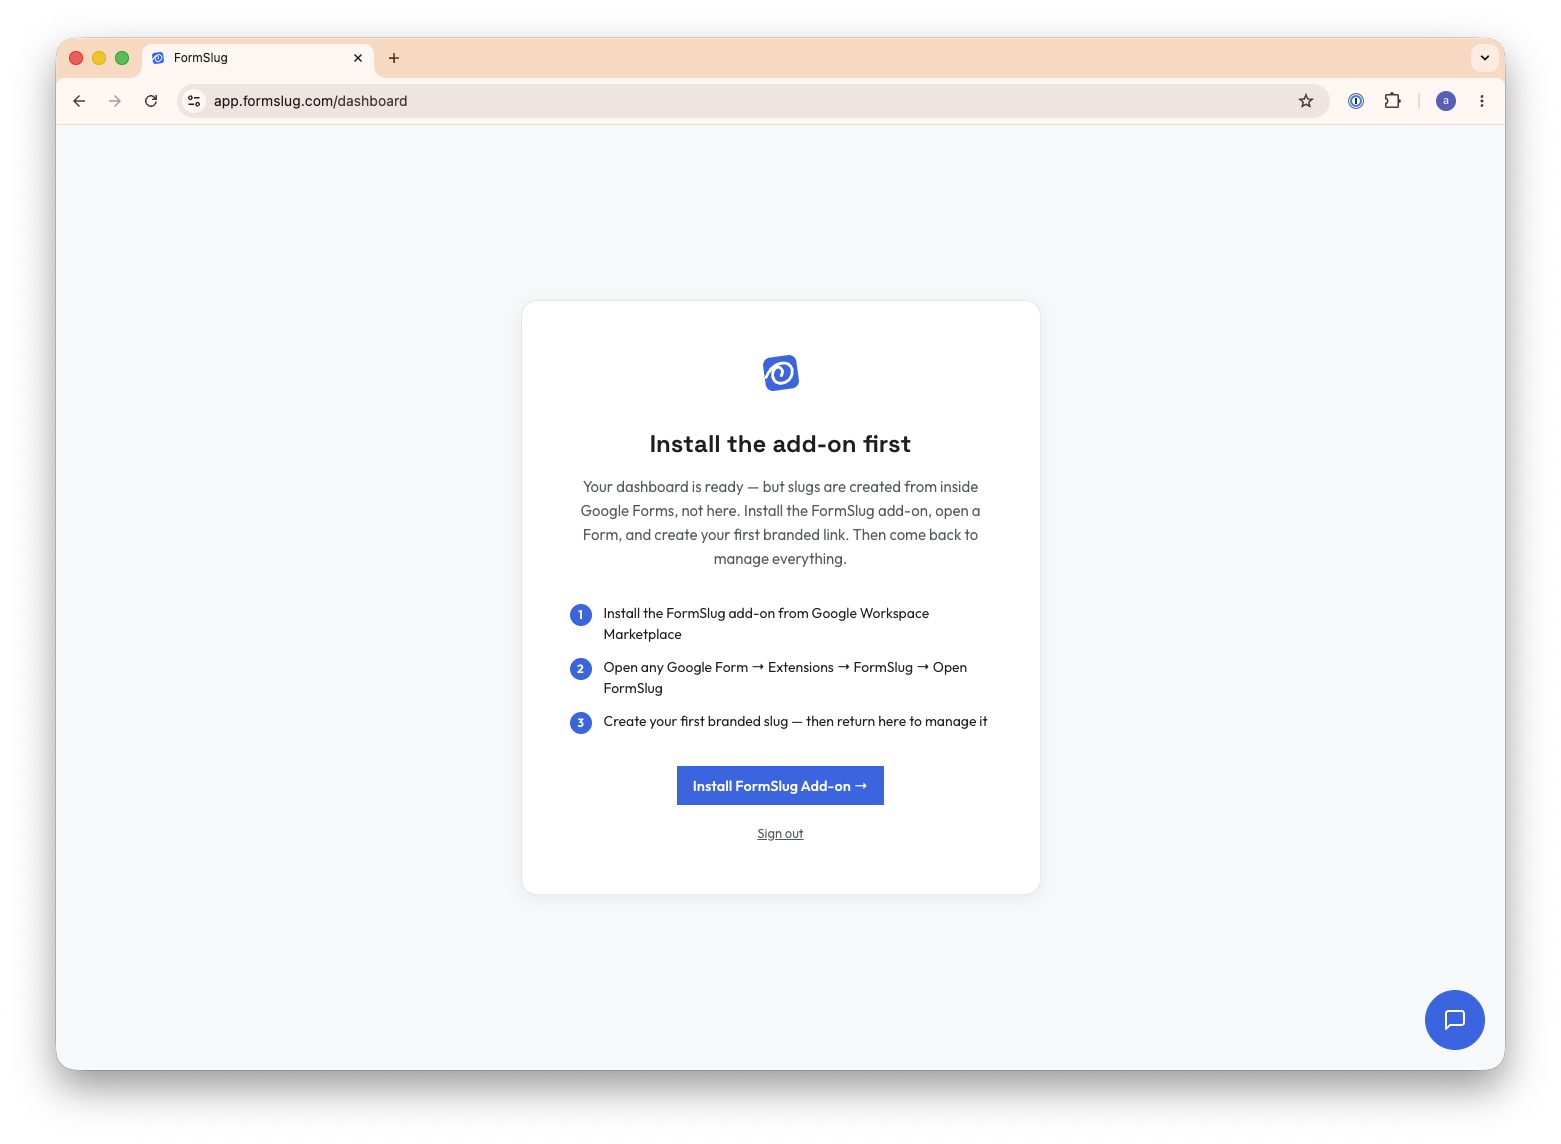
- Click Install the add-on. This opens the FormSlug listing on the Google Workspace Marketplace.
- Click Install in the Marketplace dialog.
- Approve the permissions when prompted.
- Open the add-on sidebar.
- Return to the FormSlug dashboard. The install prompt is gone and you can start creating slugs.
3. Open the add-on inside Google Forms
Section titled “3. Open the add-on inside Google Forms”To confirm the add-on is working:
- Open any Google Form you have edit access to.
- Click the Add-ons (puzzle-piece) icon in the toolbar.
- Choose FormSlug from the menu.
The FormSlug sidebar opens on the right. You’re ready to create your first slug.